A slow website quietly costs you visitors, enquiries, and sales. People expect pages to appear almost instantly, and many will leave before a sluggish page finishes loading, especially on mobile. Search engines notice too, because page experience is part of how Google evaluates websites. The good news is that most WordPress speed problems come from a small number of fixable causes, and you do not need to be a developer to solve them. This guide explains why WordPress sites slow down, how to optimize images, how caching works, when your hosting is the real problem, and how to measure your progress with Core Web Vitals.
Common Causes of a Slow WordPress Site
Before changing anything, it helps to understand where speed problems usually come from. In most small business websites, the culprits are the same.
Oversized images: Photos uploaded straight from a phone or camera can be several megabytes each, many times larger than a web page needs.
No caching: Without caching, WordPress rebuilds every page from the database for every visitor, which takes time and server resources.
Underpowered hosting: Cheap shared hosting plans can be slow to respond, especially when other sites on the same server are busy.
Too many or poorly built plugins: Each plugin can add code, database queries, and extra files to every page. A few heavy plugins can slow the whole site.
Heavy themes and page builders: Some multipurpose themes and visual builders load large amounts of CSS and JavaScript, even on simple pages.
Third-party scripts: Chat widgets, social media embeds, analytics tags, advertising code, and embedded videos all load extra resources from other servers.
Outdated software: Old versions of PHP, WordPress, themes, and plugins are usually slower and less secure than current releases.
Most sites suffer from two or three of these at once, which is why a step-by-step approach works best.
Step 1: Measure Your Current Performance
You cannot improve what you do not measure. Start by testing a few key pages, such as your homepage, a popular blog post, and a service or product page, with free tools. PageSpeed Insights is the most useful starting point because it shows both lab test results and, for sites with enough traffic, real-world data from Chrome users. Google Search Console also includes a Core Web Vitals report that groups your pages by status over time.
Record your scores before making changes, test on mobile as well as desktop, and run each test more than once, since results naturally vary between runs.
Understanding Core Web Vitals
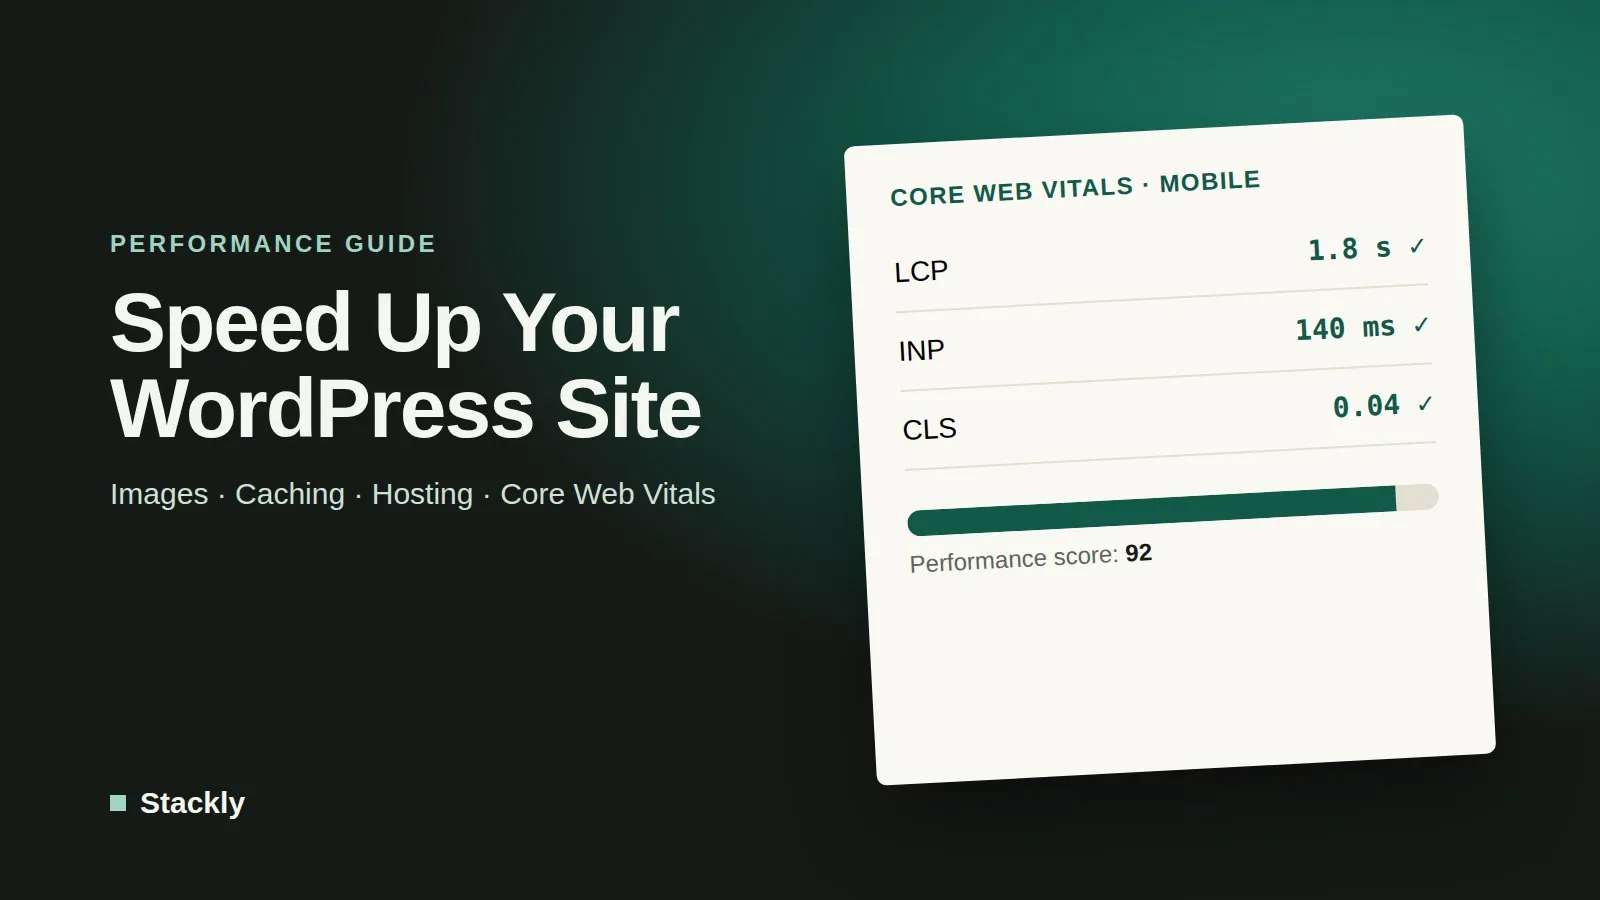
Core Web Vitals are three metrics Google uses to measure real user experience. According to Google’s web.dev guidance, a page provides a good experience when it meets these thresholds for at least 75% of visits:
Largest Contentful Paint (LCP): 2.5 seconds or less. This measures how quickly the main content, often a hero image or headline, appears.
Interaction to Next Paint (INP): 200 milliseconds or less. This measures how quickly the page responds when someone clicks, taps, or types. It replaced the older First Input Delay metric in 2024.
Cumulative Layout Shift (CLS): 0.1 or less. This measures how much content jumps around while the page loads, for example when an image or ad pushes text down.
Slow LCP is usually caused by large images, slow hosting, or render-blocking files. Poor INP is usually caused by heavy JavaScript. High CLS usually comes from images without set dimensions, late-loading ads or banners, and web fonts that swap in late. Knowing which metric is failing tells you where to focus.
Step 2: Optimize Your Images
Images are the easiest and most effective place to start, because they are often the heaviest part of a page.
Resize before uploading. A photo that displays at 1,200 pixels wide does not need to be 4,000 pixels wide. Resize images to roughly the largest size they will be displayed at before uploading them.
Compress them. Compression reduces file size with little visible loss of quality. Image optimization plugins can compress images automatically on upload and process your existing media library in bulk.
Use modern formats. WebP and AVIF files are usually much smaller than equivalent JPEG or PNG images. Current versions of WordPress support both formats, and many optimization plugins can convert images automatically.
Use lazy loading carefully. WordPress lazy-loads images by default, meaning images further down the page only load as the visitor scrolls. This saves bandwidth, but the main image at the top of the page should not be lazy-loaded, because that delays LCP. Recent WordPress versions handle this automatically in most themes.
Set image dimensions. Images should have width and height attributes so the browser can reserve space for them, which prevents layout shifts and improves CLS.
Step 3: Set Up Caching
Caching is one of the biggest speed improvements available for WordPress. Instead of building each page from scratch for every visitor, a cache stores a ready-made copy and serves it instantly.
There are several layers of caching, and they work together:
Page caching stores complete HTML pages. This is the most important layer for most small business sites.
Browser caching tells visitors’ browsers to keep files such as images, CSS, and JavaScript, so repeat visits load faster.
Object caching stores the results of database queries in memory, which helps busy sites, online stores, and membership sites.
A content delivery network (CDN) stores copies of your files on servers around the world, so visitors download them from a location near them.
Many managed WordPress hosts include page caching and a CDN at the server level, in which case you may not need a separate caching plugin. Otherwise, well-known plugins such as WP Super Cache, W3 Total Cache, LiteSpeed Cache (designed for LiteSpeed servers), and paid options such as WP Rocket can handle page and browser caching. Use only one caching plugin at a time, since running two usually causes conflicts. After enabling caching, clear the cache whenever you make design changes and test your forms, checkout, and logged-in areas to make sure dynamic content still works.
No amount of optimization can fully compensate for a slow server. If your pages take a long time to start loading even with caching enabled, the problem is often your hosting.
Signs that you have outgrown your hosting include a slow server response time (shown as Time to First Byte in testing tools), frequent slowdowns at busy times, errors when traffic spikes, and a host that runs outdated software. WordPress itself recommends PHP 8.3 or greater and a current database version, so check that your host supports them and switch your site to the newest compatible PHP version in your hosting control panel.
Cheap shared hosting is fine for small, low-traffic sites, but growing businesses often benefit from managed WordPress hosting, a VPS, or cloud hosting with more guaranteed resources. Our guides to choosing web hosting for a small business, VPS vs shared hosting, and cloud hosting explain the differences and when an upgrade is worth the cost.
Step 5: Clean Up Plugins, Themes, and Scripts
Once images, caching, and hosting are in good shape, look at what your site is loading.
Review your plugins and deactivate anything you no longer use, then delete it. For the plugins that remain, check whether any load files on every page when they are only needed on one, such as a contact form or slider. Some performance plugins let you disable scripts on pages where they are not needed.
If your theme is very heavy, consider a lightweight theme or a block theme built for the WordPress site editor, which typically loads less code than older multipurpose themes. Limit third-party embeds: replace embedded videos with a lightweight preview that only loads the player when clicked, and remove tracking scripts you no longer use.
Finally, keep WordPress core, your theme, and plugins updated. Updates often include performance improvements as well as security fixes, and our website security checklist covers how to update safely with backups.
A Quick WordPress Speed Checklist
Use this checklist to work through the most effective improvements in order:
Test key pages with PageSpeed Insights and record your starting scores.
Resize, compress, and convert images to WebP or AVIF.
Make sure the main image at the top of each page is not lazy-loaded.
Enable page caching through your host or a single caching plugin.
Turn on a CDN if your host or caching setup offers one.
Update to the newest PHP version your site supports.
Remove unused plugins and limit heavy third-party scripts.
Check the database for bloat, such as old post revisions and expired temporary data, using a reputable optimization plugin after taking a backup.
Retest the same pages and compare the results.
Common Performance Mistakes
A few mistakes undo a lot of good work. Installing several optimization plugins that do the same job often causes conflicts and can break your site. Enabling every advanced option at once, such as aggressive JavaScript deferral, makes it hard to tell which setting caused a problem, so change one thing at a time and test. Chasing a perfect score of 100 is rarely worth the effort; real user experience and passing Core Web Vitals matter more. And never optimize without a recent backup.
If you are considering a different platform altogether, our comparison of website builders vs WordPress explains how hosted builders handle performance for you, and what you give up in exchange.
Frequently Asked Questions
What is a good loading time for a WordPress site?
Aim for the main content to appear within 2.5 seconds, which matches Google’s Largest Contentful Paint threshold, and for the page to respond quickly when visitors interact with it. Many well-optimized small business sites load their main content in under two seconds on a typical connection.
Do I need a caching plugin if my host already has caching?
Often not. If your host provides server-level page caching, adding another page caching plugin can cause conflicts. Check your host’s documentation; you may only need a plugin for image optimization or other specific tasks.
Does website speed affect SEO?
Yes, to a degree. Core Web Vitals are part of Google’s page experience signals, but relevance and content quality matter more. Speed has a larger effect on visitors, since faster sites usually keep people engaged and convert better.
Why is my WordPress site slow on mobile but fast on desktop?
Mobile tests simulate slower processors and connections, so heavy images and large JavaScript files have a bigger impact. Optimizing images and reducing scripts usually improves mobile performance the most.
How often should I check my site’s performance?
Test after any major change, such as a new theme, plugin, or design, and review the Core Web Vitals report in Google Search Console about once a month to catch problems early.
The Bottom Line
Speeding up a WordPress site is mostly about fixing the basics in the right order: measure first, optimize images, enable caching, make sure your hosting is up to the job, and trim unnecessary plugins and scripts. Work through one change at a time, retest after each step, and focus on real improvements in Core Web Vitals rather than a perfect score. A faster site is better for your visitors, your search visibility, and your business.



Leave a Reply